What To Put On Your Disaster Prepper Check List

You can only predict some natural disasters like hurricanes and a possible volcanic eruption, but mother nature has her way even then. What we expect sometimes turns out to come in different forms and forces us to make other plans on the spot.

However, if we had plans in place, it wouldn’t have been so hard to adjust to any change in the conditions. For a fact, when a natural disaster strikes, you may have little or no time to get particular stuff done, which should have already been in place.

The best bet…prepare now and be on the safe side even if it doesn’t come! Planning is the best way to cope and protect yourself and your family in the case of an emergency. But what is the best way to know what you need to have and do? Create Disaster Prepper Check List.

Prepper Check List

What To Put On Your Disaster Prepper Check List

Why Have A Disaster Prepper Check List?

A disater preparedness checklist is the best way to be sure you have all the items you need and what you should do when an emergency arises. It provides a guide for the entire family and reduces the risk of potential panicking. When you create a checklist, discuss it with your family as well as put it up around the home where everyone can see it (refrigerator, notice board, or even in the kitchen).

To protect your community by extension, you can check with your local office or authorities about the disaster which may happen in the area. Checklists come in many different forms, and all are vitally important. When planning, you need to:  

Prepare a Disaster Supplies Kit

This task is, by far, one of the most important stages of preparing for an emergency. You can store the items in a backpack or travel bag (or whatever you deem fit) that is portable and can move with when rushing. This kit includes:

  • Water – Every member you are preparing for should have enough drinking and cooking water to serve for a few weeks or months (an estimated one gallon per person per day).
  • Non-perishable Foods – These include canned foods or those packaged foods (no refrigeration needed).
  • Clothing – Rain gear, sturdy boots, and warm clothes
  • Blankets, sleeping bags or sponges
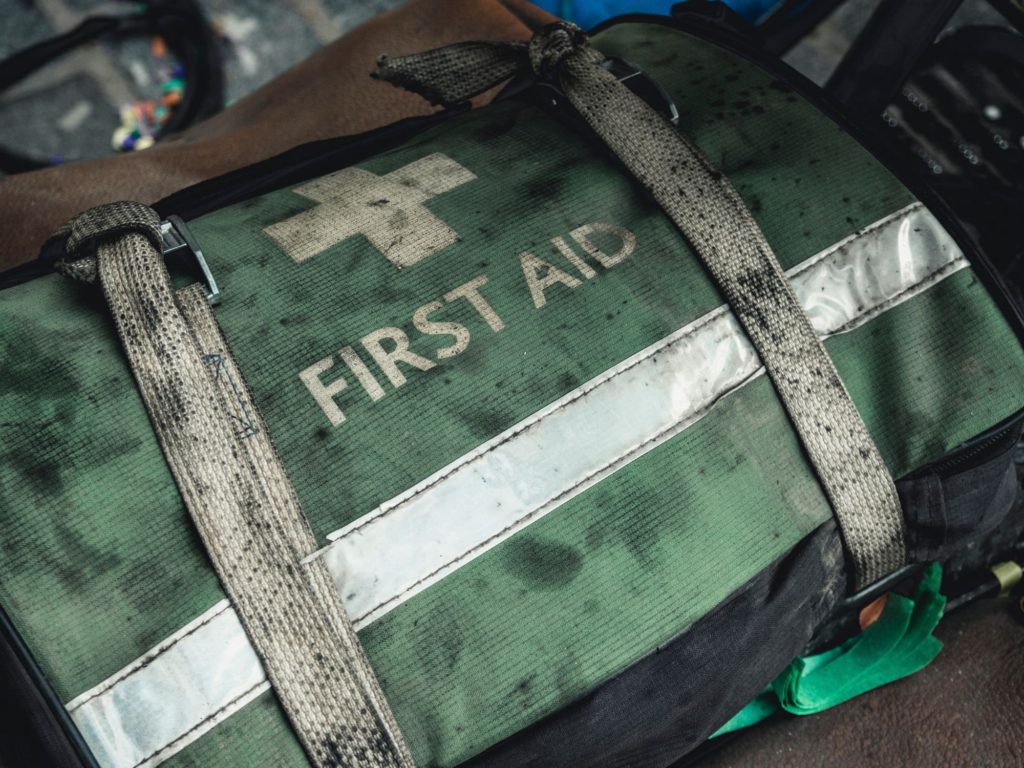
  • Medication (including prescription), and first aid kit (bandage tape, rubbing alcohol, pain killers, cotton, etc.)
  • Battery-powered flashlights, radios (and fans if needed), and a few packs of batteries
  • Cash and credit card (you never know if you may need to purchase something along the way!)
  • Extra set of car and house keys
  • Emergency contact numbers including contacts for the family doctor(s)
  • Personal and essential documents should be kept in a fire and water-proof holder (ID, Driver’s License, Passport, Birth Certificates, etc.)
  • Important items necessary for infants and the elderly (such as unique serial numbers for medical devices like glasses, wheelchairs, pacemakers, etc.)

There are other items you can add to the kit as you deem fit, which you may need if you have to move out.

Disaster Preparedness Checklist

Contact Your Local Emergency Management Office(s)

Are you aware of potential disasters or emergency activities prone to your area? If not, contacting your emergency management office is the best option. They will have all the information you need to help you to prepare adequately. You can find out details such as:

  • Disasters that happen most in the area
  • The best way to prepare for any potential disaster
  • How they issue warnings in an impending disaster (so you can keep your radio or television on)
  • The evacuation routes for the area
  • Possible assistance for infants, elderly and the disabled

It is also essential to check your workplace emergency plans, your school, and that of your children (including daycare).

Emergency Family Planning

Every family needs to have a time they set aside to discuss details should an emergency strike. Enlighten them about disasters such as fire, weather, earthquakes, and more are essential.

Also, the response action for each should be detailed. A safe spot in the home should a disaster strike is necessary and should have all the emergency items listed in the kit above. However, when choosing this location, ensure there is an alternative escape you other than the main entrance. But what should you discuss with your family? Here is a guide on what you may talk about:

  • Power outages and how to respond to them
  • What to do in case you get injured during the emergency
  • Design a floor plan and highlight two escape routes for each room
  • How to disable the power, water and gas switches should the need arise
  • Distribute a list of all emergency contacts as well as place them beside home phones. You should also discuss when it is necessary to call 911 or any other emergency contact. Also, give a local and out of state friend and family contact should there be separation during an emergency. (The central communication point will be able to provide location and whereabouts of each member).
  • Central assemble areas close to your home and out of the area in case you have to evacuate.
Prepper Check List

Discuss basic first aid and CPR practices (demonstrate if needed) Discuss essential details such as:

  • Before opening a door, check the bottom of the said door with the palm. If the door is hot, then it is safer to use another escape route (during a fire).
  • In case of a fire, it is safer to stay low on the ground and crawl to safety.

You should also consider having the following items when preparing for an emergency:

  • A collapsible ladder if one has to escape from a high-rise building
  • A fire extinguisher (one that all family members can operate)
  • A whistle to alert unsuspecting family members of an emergency
  • Smoke detectors
  • Water sprinklers

Be Flexible & Proactive With An Escape Plan

You need an escape plan for every type of emergency, as not all require the same. You should develop a plan for your home and discuss it with your family because emergency calls for flexibility and fast action. Detail every route and how to get there no matter what area of the house you are.

Also, a note to add, putting emergency kits close to evacuation routes, is ideal, and you can grab on the way out. This detailed plan should show everything that is required (highlight the gas, water and electrical switches in different colors, etc.) Once you highlight all escape routes, emergency kit location, switches, and other necessary ems, you need to point a safe area outside where all family members should meet (driveway, lawn, poolside, play area, etc.).

However, the best way to know if everyone understands it is to practice. At least twice per year, one should do a mock emergency evacuation drill.

Your Car

Your car could be a critical tool in case of an emergency, and you have to travel out of the area or even stay put for a while. As such, having a disaster preparedness checklist for this is important! Having a ready kit will go a far way. For this kit, you should have:

  • Battery-powered flashlight and radio (with extra batteries)
  • Blankets and other items of clothing for you and the family
  • Fire Extinguishers (you can research which is best to use)
  • Booster cables
  • First aid kit and medical kit
  • Water and non-perishable foods
  • Spare tire and kit (air pumps, etc.)
  • Charging cables for your phone

Additional Tips To Consider:

  • Prepare pet evacuation
  • Design home with an emergency in mind (strap large appliances to walls or ground, hang picture and glasses away from the bed, store hazardous chemicals in non-leak containers, fasten shelves to prevent falling, etc.)
  • Repair defective wiring and gas leaks
  • Other actions you feel are necessary.

Emergency happens when it sees fit, and though you may prepare, one still has to be on their guard. Last, but certainly not the least, if you have to evacuate, remember to lock your doors as not everyone is up to good while a disaster is on. Stay safe and alive!

Other posts you may enjoy once you have a disaster Prepper Check List:

DIY Home Security Ideas For Preppers

If you are looking for ideas on DIY home security that will give you comfort during times of emergencies or just everyday peace of mind here are some inexpensive ways to start.

DIY Home Security Ideas For Preppers

It’s no secret that security is something we all want in our life. We want something to make our home feel more comfortable and safe; work to protect the items we work hard for and protect those that we love and cherish.

There are some security systems available that don’t cost an arm and a leg, however, those often come with a monthly fee for monitoring.

DIY Home Security Ideas for Preppers

Here are a few ideas on things you can do NOW that make a difference for your own safety. You might want to look into this more in depth as you feel concerns about things really starting to go over the tipping point for a SHTF situation and you know you will be sheltering in place.

You can have all the food, water, and medical supplies you want, but you need to keep them for yourself – not as fodder for the looters who may be desperate.

Home Security Signs:

One of the most simple and least expensive steps towards DIY home security is a home security sign. Some options would include; Nothing inside is worth dying for.

This gives intruders a warning there may be a gun waiting for them when they get inside. Other options include Beware of Dog signs and home alarm system signs.

Door Jams:

Installing a simple door jam to sliding glass doors will provide a delay if you are in the middle of a home invasion. You could also place a 2×4 between a door and a wall to deter a forced entry.

The nice thing about door jams is that there is no installation and they are small and discreet so no one will ever notice you have one.

Sliding Glass Doors:

Sliding glass doors are another thing – Why are Sliding Doors So Vulnerable? Sliding glass doors are use latches, not locks. That is why you see everyone put a
“stick” in the track behind them when they are closed. Some sticks are wooden, some metal – those are referred to as “blocking bars”.

There are a few different things you can do to enhance that security:

Apply shatterproof film.

The door is glass – right? What is to stop a desperate person from just grabbing a hammer or other similar tool and smashing through the glass? You can pick transparent or tinted film and now you can prevent burglars from making quick entry by breaking your door’s glass.

I like BuyDecorativeFilm (BDF)

Protect your lifestyle from unwanted damages with Buydecorativefilm’s Clear Security and Safety 8 Mil S8MC window film. Its 8 mil thickness allows the film to serve as a protective layer once applied to your window.

The S8MC can absorb impact from break-in attempts and hold shattered glass together in case of breakage while remaining virtually clear and transparent so that you won’t even know it’s there.

Bonus perks? It will also help prevent breakage from flying debris as you get with a hurricane or tornado – within reason.

Install a Security Pin

This is hands down a very thrifty way to solve the problem – seriously, we found this great security pin on Amazon for under four bucks.

This locking pin is constructed from case-hardened steel and comes plated in chrome. The pin stores in its holder when unlocked and locks into the retaining ring when engaged. Securely locks your door in a closed or ventilating position.

With your sliding door securely closed, you simply drill a hole through the frame of the door that slides and into the frame of the stationary door. The pin will hold the two doors together and prevent them from being slid open.

One of the most simple and least expensive steps towards DIY home security is a home security sign. Some options would include; Nothing inside is worth dying for.

This gives intruders a warning there may be a gun waiting for them when they get inside. Other options include Beware of Dog signs and home alarm system signs.

The S8MC can absorb impact from break-in attempts and hold shattered glass together in case of breakage while remaining virtually clear and transparent so that you won’t even know it’s there.

Bonus perks? It will also help prevent breakage from flying debris as you get with a hurricane or tornado – within reason.

The pin does not screw or lock into the hole…it slides into three drilled holes through the decorative guide . Two holes are drilled through interior door frame. One hole is drilled on inside edge of exterior door frame.

Personal Protection:

Be sure you have something you can use as personal protection should a home invasion occur. If you are not keen on having guns around keep in mind there are many ways you can secure your guns so that they are safe, yet still accessible should the need arise where you need them.

I prefer the Secure It Gun Storage – and they currently have a great offer:

Secure It Gun Storage BUY NOW PAY LATER – No minimum spend is requiredApplies sitewide “4 Interest-Free Payments” Financing available upon approval Shop Now

WHY do I like them? Well – hubby is NOT a fan of a gun in the house. At. All. Contrasting that is me – a Desert Storm Vet who is used to handling a weapon. The compromise is secure storage so it is there if we need it, but not accessible to kids or visitors that don’t really know how to handle it.

ANY tool is a good tool for defense, if you know how to take care of it and store it properly.

It’s also a great idea to keep a can of mace and know how to use it.

Use Your Car Alarm:

This is a super simple technique but it will work. If you have a car with an alarm on it be sure to keep your key fob with you or on your nightstand. If your home is bring broken into hit the panic button on your key fob.

This will be very loud and bring attention to the area, likely sending the invaders on the run.

DIY Home Security System:

Last but not least is to think of purchasing a simple DIY home security system. There are some on the market that are simple to set up and you do not have to be under any contract for monitoring. These are great because they work just like those that are under monitoring contracts giving you peace of mind without the added cost if you are budget conscious.

A home invasion is very scary and I hope it’s something none of us ever have to face however taking a few simple DIY home security steps just may save your life and the lives of those you cherish most.

Other posts you may enjoy:

The Basic Emergency Roadside Kit

 
You hear of the horror stories every year: motorists and their families stranded for hours and hours on a highway because of incliment weather or accidents. While people are hungry, cold, thirsty, and more – they would have been better off if they had taken just a little bit of time to create a basic emergency roadside kit for their vehicles.
 
The Basic Emergency Roadside Kit

Nothing spoils the holiday season more than an unfortunate highway issue – either from weather or an accident. I am a firm believer that, if you are prepared, you never have to worry. It’s sort of like “insurance” to keep you and your family safe.

Plan Ahead for a Roadside Emergency Kit

We all like to think that it would never happen to us. According to the Wisconsin DOT, there are, on average, 20,000 motor vehicle crashes each winter season within the state. In these crashes, 6,000 people are injured. On average, an additional 60 people die in fatal winter-related car accidents every year in Wisconsin. That is 20,000 drivers who didn’t think it would happen to them…and 60 unlucky souls who didn’t make it out.

I can think of several occasions where icy roads, poor visibility, and even heavy snowfall caused multiple vehicle pile ups on highways where the now stranded, and possibly injured, motorists had to wait hours to be assisted.

If you don’t have an Emergency Roadside Kit, it’s time to make one!
Consider including the following:

  • Flashlight
  • First aid kit
  • Jumper Cables
  • Tools
  • Fuses
  • Gloves
  • Flares
  • Candles
  • Matches
  • Blankets
  • Hats
  • Shovel
  • Cat Litter (for traction- preferably CLEAN)

That is just the basics for a basic kit – you need to add in special items if you live with inclimate weather. We take a 5-Gallon bucket, fit with a toilet style flip lid, and add the following items:

  • Water Bottles
  • Protein Bars
  • Handwarmers
  • Extra Socks
  • And something to take care of eliminated waste like Double Doodie Bags
This should prevent you from ever having an issue – or being one of those people that we read about! It also means that you are ready to come to someone else’s aid – if you see someone else in trouble.
 

Other posts you may enjoy:

free shipping banner