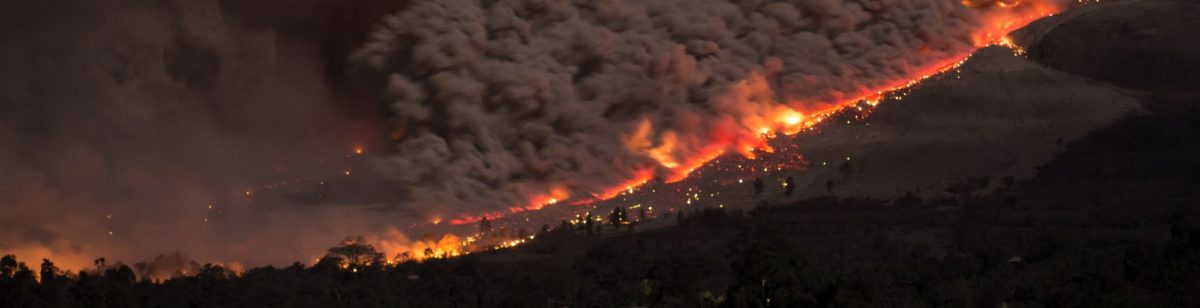

On October 25th, 2010, Indonesia was hit by a triple natural disaster. It is our responsibility to teach our children how to survive catastrophic events like this as when prepared? Youth and Natural Disasters are easier to handle: you help them take “ownership” of the event by teaching them to be prepared.

Beginning on October 25th, 2010, Indonesia was blindsided by a triple natural hazard that turned catastrophic. The 7.7 earthquake shook Sumatra; only minutes later, a lethal tsunami pounded the shore. Then Mount Marapi began its devastating eruption.
Our Earth changes rapidly. We must be flexible to change with our environment. To do this, we must have an understanding of how our world works. This is true for our children as well.
Too often, we neglect to discuss natural hazards and disaster preparedness with our children. Maybe we feel they are too young. Perhaps we do not wish to worry them about something that may not happen. Or perhaps it is because we lack the information they should know.
Youth and Natural Disasters: How to Prep for Survival
Here are some quick things we can do to make sure we make a difference about how our kids handle things.
Communication
Even if we have had conversations with our children about these unexpected dangers, a deeper look into these phenomena will help our children and us subdue our fears while gaining knowledge. This will help us better prepare for and deal with a catastrophic event with a level head.
A huge part of communication is listening. Listen to your child. Their questions are critical. They may also have some excellent ideas that we have not thought of.
Importance
Our children must understand what to do and why. We teach them to call 911, to look both ways when crossing a street, and not to talk to strangers. We explore the reasons why with our child. We do this to help keep them safe even when we are not close by.
The last thing needed during an emergency is someone panicking. If we do not know what to do, it is frustrating and can become terrifying. During natural disasters, children are especially susceptible to anxiety, fear, and injury.
Natural disasters do not always come with a warning. Know what to look and listen for. This gives us precious seconds to take action and get to safety.

Our impact on our living world can directly influence the severity of the hazard. There are times catastrophes could have been avoided. Educate your Youth and Natural Disasters aren’t going to be as scary.
Survival
Surviving the initial incident is only part of what your children need to know. They also need to understand how to function in the aftermath. This could include evacuation, relocation, dealing with injuries, and eventually foraging for food and water.
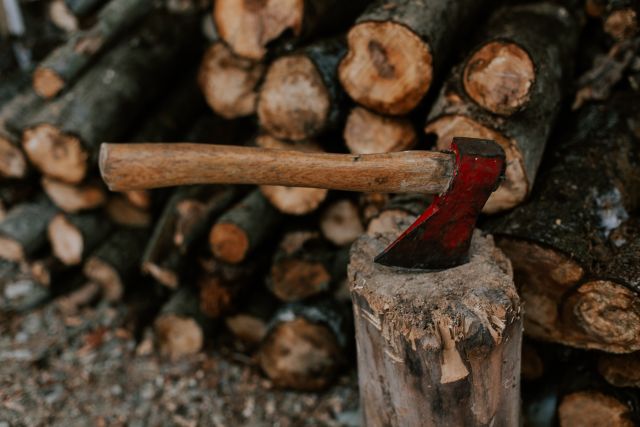
Understanding it could be a long time before things are back to normal is very important for your child. Your survival kit is only a temporary solution. Show them where to find fresh water and food. Learn how to make a temporary shelter with your children.

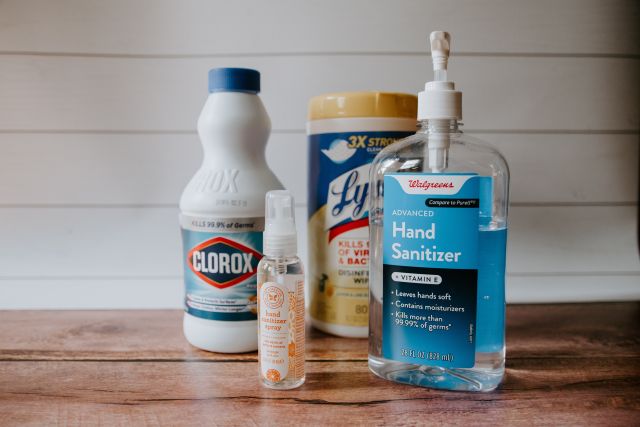
Haiti has shown us the need to learn about illnesses and infections and how to avoid them or deal with them. Another critical issue is teaching children how to stay clean and avoid contaminated waters.
Education & Research
Involve your children in helping to prepare a survival kit. Discuss with them why you want to make the kit. Ask the kids what things they believe should be put in them and why. Be sure to talk with your child about the different situations the kit may be useful in.
Research our living world with your child. It will be enlightening and exciting. Learn how the Earth changes and how those transformations can directly affect us. Pay particular attention to hazards common to the area you live in. If you change your residence and move to a new region, update your knowledge, as well as your survival kit.
Recognize that this does not mean only learning what to do during an event, but what caused that event in the first place, and what to do after the event. Replace the mystery with knowledge.
Exploration & Experimentation
Learning about Earth’s forces will beckon us to explore our part of the world. Take educational field trips. Learn about natural historical events of your region. Above all, ask questions and search for answers. You and your child are an investigative team. Learn all you can, search for clues, and enjoy Mother Nature.
Children learn through doing. Preparing for the unexpected is no different. Have practice drills for hazards you may face. Find science models and experiments to give kids a visual link to what they’ve learned.

Natural disasters frequently sneak upon us. The quicker we can recover from the surprise, the faster we are able to take action, and the longer we can sustain it. With education, practice, and discussion, our children can be the voice of reason in emergency situations. Give our children a fighting chance.
Other posts you may find interesting:
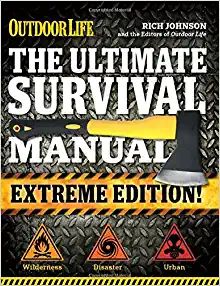
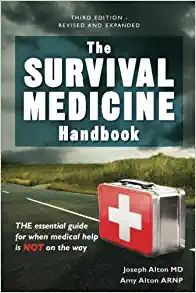
- 5 Books on Survival You Should Get Now
- First Aid Items for Your Pandemic Survival Kit
- Dangerous Side Effects of Supplements
- Lifestraw Personal Water Filter
- Best Supplements for Immune System : Vitamins to Look At